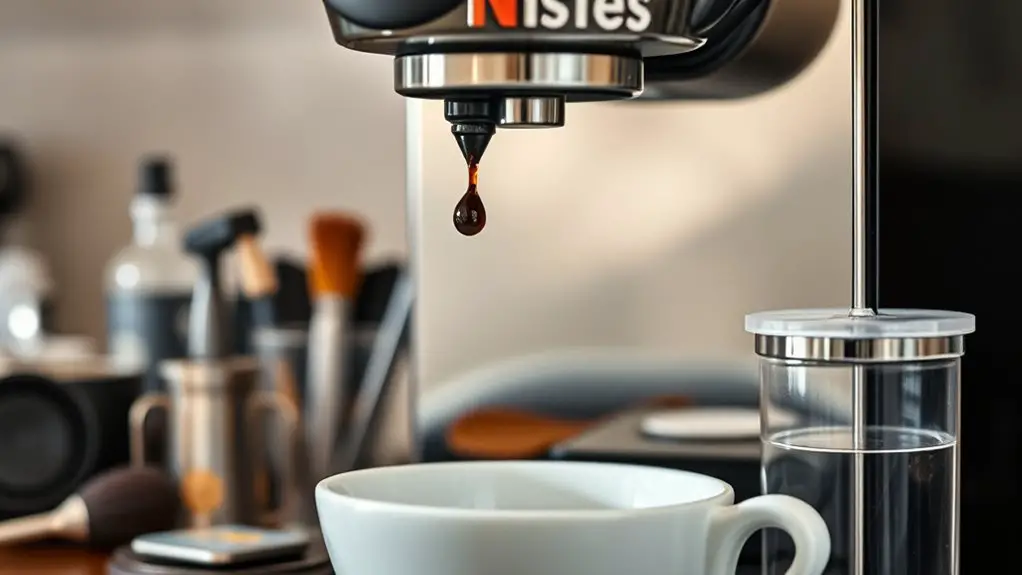
If your Nespresso won't stop dripping, first check for clogs in the coffee outlet or brewing group. Clean the machine using a vinegar and water solution to remove any build-up. Confirm the water tank is properly seated and free from debris. Inspect the pod holder and brewing unit for blockages or wear. If you notice persistent leakage or unusual sounds, it may be time to seek professional help. There's more to reflect on next.
Understanding the Causes of Dripping
Understanding the causes of dripping in a Nespresso machine is essential for effective troubleshooting. Dripping issues often arise from clogs in the coffee outlet or the brewing group, which can be exacerbated by inadequate machine maintenance. Over time, coffee oils and residue can build up, leading to obstructions that hinder proper water flow. Additionally, worn or damaged seals may allow water to escape, contributing to unwanted dripping. Temperature fluctuations can also affect brewing pressure, resulting in inconsistent extraction and leakage. Regularly checking and maintaining your machine can prevent these problems. By addressing potential causes proactively, you can enhance your Nespresso experience, ensuring peak performance and minimizing the risk of dripping. Furthermore, faulty components such as a broken switch or damaged wiring can also lead to unexpected leakage. Take control of your coffee journey with diligent maintenance.
Cleaning the Machine: A Step-by-Step Guide
To effectively eliminate dripping from your Nespresso machine, you'll need to follow a systematic cleaning process. First, gather your cleaning supplies, including a soft cloth, vinegar, and a descaling solution. Start by unplugging the machine and removing any used capsules. Next, wipe down the exterior with a damp cloth. For internal cleaning, fill the water tank with equal parts vinegar and water, then run a brewing cycle without a capsule. Afterward, empty the tank, refill it with clean water, and run another cycle to rinse. Regularly follow this maintenance schedule every few months to prevent buildup that causes dripping. By keeping your machine clean, you'll guarantee peak performance and enjoy your coffee hassle-free. Additionally, regular descaling is crucial for optimal machine performance and preventing issues like dripping.
Checking the Water Tank and Drip Tray
One key aspect of addressing a dripping Nespresso machine is regularly checking the water tank and drip tray. Confirming proper maintenance can prevent leaks and enhance performance. Here's a methodical checklist to follow:
- Check the Water Level: Confirm it's filled to the recommended line; too low can cause issues.
- Inspect Tank Placement: Verify the tank's seated correctly to avoid misalignment that may lead to drips.
- Examine the Drip Tray: Empty it regularly and check for any cracks or damage.
- Clean Connections: Wipe down the tank's inlet and confirm there's no debris obstructing the flow. Additionally, ensure that the faulty water tank seal is not contributing to any leaks.
Inspecting the Pod Holder and Brewing Unit
Sometimes, a dripping issue can stem from the pod holder and brewing unit, so it's essential to inspect these components closely. Start by removing the pod holder and checking for any coffee residue or blockages that might prevent a proper seal. Clean it thoroughly with warm water and a soft cloth. Next, examine the brewing unit for any signs of damage or wear. Verify that the brewing unit is seated correctly and free from debris. If you notice any cracks or misalignments, it could cause leaks. Reassemble the pod holder and brewing unit, ensuring they fit snugly. Additionally, ensure that you have correctly positioned coffee capsules in the machine, as misalignment can lead to further issues. Run a test cycle without a pod to see if the dripping persists. This methodical approach can often resolve the issue efficiently.
When to Seek Professional Help
If you've followed the previous troubleshooting steps and your Nespresso is still dripping, it may be time to seek professional help. Here are some situations to reflect on:
- Persistent Leakage: If the dripping continues despite all attempts to fix it.
- Unusual Noises: Any abnormal sounds during operation could indicate a more serious issue.
- Damage Assessment: If you've noticed visible damage to internal components.
- Evaluating Warranty Options: Check if your Nespresso is still under warranty, as repairs might be covered.
Identifying repair services can save you time and guarantee your machine is fixed correctly. Don't hesitate to reach out for professional assistance when needed; sometimes, it's the best choice for maintaining your freedom to enjoy great coffee.
Frequently Asked Questions
Can I Use Third-Party Pods With My Nespresso Machine?
You can use third-party pods with your Nespresso machine, but verify they have third-party compatibility. Pod quality varies, so choosing reputable brands is essential for best performance and taste without risking damage to your machine.
How Often Should I Descale My Nespresso Machine?
To keep your Nespresso humming like a well-tuned engine, you should descale it every three months. Consistent maintenance tips like this not only enhance flavor but also extend your machine's longevity, ensuring freedom in your coffee experience.
Is It Safe to Use Vinegar for Cleaning?
It's generally not recommended to use vinegar for cleaning your machine, as it can damage components. While vinegar has benefits, consider safer cleaning alternatives specifically designed for your model to maintain peak performance and longevity.
What Warranty Options Are Available for Nespresso Machines?
Nespresso machines come with warranty coverage that's almost legendary! You've got options, typically ranging from one to three years. If something goes awry, explore repair options offered by Nespresso to keep your coffee flowing.
Can I Fix a Nespresso Without Professional Help?
Yes, you can fix a Nespresso without professional help. Start with troubleshooting tips and maintenance advice like descaling, cleaning components, and checking seals. These steps often resolve common issues and restore your machine's functionality effectively.