If your Keurig K-Elite keeps displaying "Water Reservoir Empty" despite a full reservoir, first inspect the sensor area for debris or mineral buildup. Unplug the machine and clean the sensor with a soft cloth or cotton swab using water or a vinegar solution. Verify the reservoir is properly seated and that you've got the correct reservoir model. If issues persist, you may need to replace the sensor. Let's explore further steps to verify proper functionality.
Understanding the Water Reservoir Sensor
Although the water reservoir sensor in your Keurig K-Elite is designed to provide accurate readings of water levels, it can sometimes malfunction or become obstructed. Understanding the sensor types used in your machine is essential for effective troubleshooting techniques. Typically, your Keurig employs either a float sensor or a capacitive sensor to detect water levels. If the sensor's function is impaired, it may not communicate the correct water status to the machine. To troubleshoot, start by checking for any debris or mineral buildup around the sensor area that could hinder its operation. Additionally, ensuring that the reservoir is securely attached can resolve connectivity issues. Regular maintenance and awareness of these factors can help maintain the sensor's accuracy and prolong your machine's lifespan.
Common Symptoms of a Malfunctioning Sensor
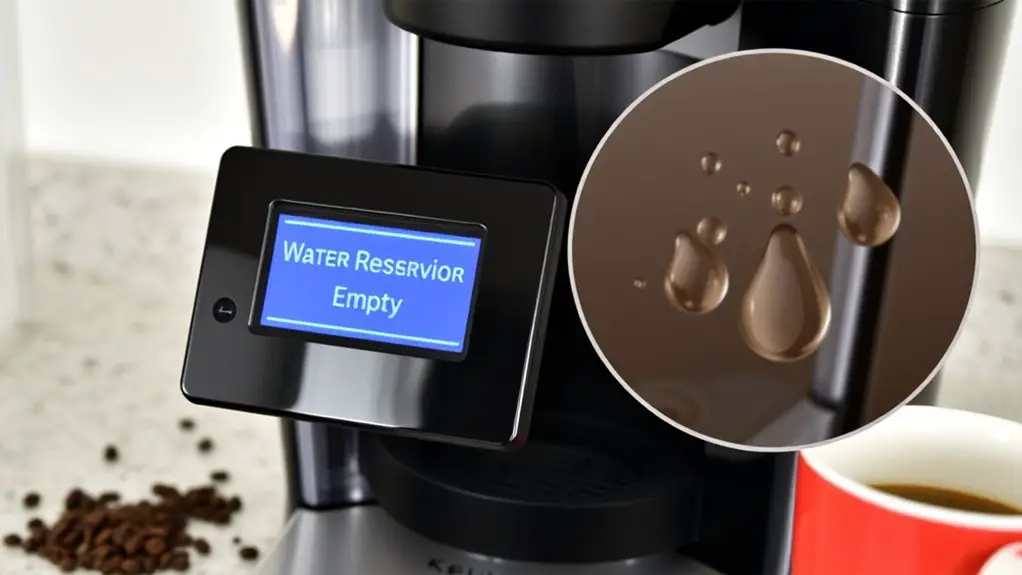
Many users experience issues with their Keurig K-Elite water reservoir when the sensor malfunctions. Common symptoms include inconsistent brewing, where you may notice the machine fails to brew or produces weak coffee despite a full reservoir. Additionally, the display may repeatedly show "Water Reservoir Empty" even when it's full.
| Symptom | Possible Cause | Recommended Action |
|---|---|---|
| Inconsistent brewing | Faulty sensor type | Inspect and clean sensor |
| Display shows empty | Sensor misalignment | Realign or replace sensor |
| Weak coffee | Low water level detected | Check water reservoir level |
| Machine shuts off | Electrical issue with sensor | Test sensor connections |
| Unresponsive buttons | Software glitch | Reset the machine |
Employing these troubleshooting techniques can help identify and resolve sensor-related issues.
Preparing Your Keurig for Troubleshooting
Before diving into troubleshooting your Keurig K-Elite, it's vital to prepare the machine properly. Start by unplugging the unit to guarantee safety during the process. Next, remove the water reservoir and inspect it for any visible debris or damage that might interfere with proper operation. Dry the exterior before reattaching it to the machine. Familiarize yourself with the user manual to make sure you're following proper troubleshooting techniques. This step is essential for identifying user errors that may not be immediately obvious. Finally, gather any necessary tools, such as a soft cloth or a brush, to clean sensitive components effectively. With these preparations completed, you're ready to tackle the water reservoir issue head-on. Be mindful that regular maintenance can help prevent future sensor issues.
Steps to Inspect the Water Reservoir
To inspect the water reservoir, start by ensuring it's properly placed on the brewer. Next, check the cleanliness of the water level sensor, as dirt or mineral buildup can affect performance. Addressing these points will help you troubleshoot any issues effectively.
Check Reservoir Placement
While troubleshooting your Keurig K-Elite, it's essential to check the water reservoir placement, as improper positioning can lead to brewing issues. First, verify that the reservoir is securely seated on the machine. If it's misaligned, it may not connect properly with the sensor, causing it to register incorrect water levels. Next, confirm that you're using the correct reservoir types compatible with your model. Misplaced or incompatible reservoirs can disrupt the flow and functionality of the machine. Finally, double-check that the water levels are adequate; even a small drop can trigger the "empty" alert. Adjust the reservoir position and verify the connection to prevent any further brewing complications.
Inspect Sensor Cleanliness
Inspecting the cleanliness of the water reservoir sensor is essential for guaranteeing your Keurig K-Elite operates correctly. A dirty sensor can lead to inaccurate readings and malfunction. Here are steps to inspect the sensor:
- Unplug the machine to guarantee safety.
- Remove the water reservoir and check the sensor area for any residue.
- Clean the sensor gently with a soft, damp cloth; avoid abrasives.
- Reassemble the reservoir and plug the machine back in to test for proper sensor calibration.
Cleaning the Sensor Area
Cleaning the sensor area of your Keurig K-Elite is essential for guaranteeing ideal performance. Start by unplugging the machine to guarantee safety. Use a soft cloth or a cotton swab lightly dampened with water to gently wipe the sensor area near the water reservoir. Avoid harsh chemicals that could damage the sensor. For more effective cleaning, consider using a mixture of equal parts water and vinegar to eliminate any mineral buildup. Make sure to dry the area thoroughly after cleaning. Regularly performing these sensor maintenance tips will help you avoid issues like the "Water Reservoir Empty" warning. Following these cleaning techniques not only maintains your machine but also guarantees your coffee experience remains uninterrupted.
Replacing the Water Reservoir
When replacing the water reservoir, first check the connection to verify it's secure. Next, inspect the reservoir for any cracks that could cause leaks. Finally, make certain the reservoir is aligned properly for peak performance.
Check Reservoir Connection
One essential step in resolving your Keurig K-Elite's water reservoir issue is to check the connection between the reservoir and the brewer. This guarantees that the sensor technologies can accurately detect water levels. Here's what you should look for:
- Secure Fit: Make sure the reservoir is properly seated on the brewer.
- Clean Surface: Verify the contact points are free from debris or residue.
- Examine Reservoir Materials: Check if the materials are intact and compatible with the brewer.
- Reconnect: Detach and reattach the reservoir to reset the connection.
Inspect for Cracks
To guarantee your Keurig K-Elite functions properly, inspecting the water reservoir for cracks is vital, as even minor damage can lead to leaks and operational issues. Start by removing the reservoir and examining it closely for any signs of cracks or fractures. Use a flashlight for better crack detection, as some imperfections might be hard to see. If you notice any cracks, it's important to replace the reservoir to confirm durability and prevent further complications. A damaged reservoir can not only affect your coffee machine's functionality but can also lead to unwanted leaks. By proactively checking for cracks, you maintain the integrity of your Keurig K-Elite and enjoy your coffee without interruption.
Ensure Proper Alignment
After confirming the water reservoir is free of cracks, the next step is to focus on proper alignment when replacing it. Incorrect sensor alignment can lead to the machine mistakenly indicating that the reservoir is empty. To achieve ideal reservoir positioning, follow these steps:
- Align the reservoir with the base of the machine, confirming a snug fit.
- Check the sensor for any obstructions that may affect its ability to detect water levels.
- Remove and reseat the reservoir multiple times if necessary to confirm it engages properly.
- Test the machine after repositioning to confirm that it recognizes the full reservoir.
Testing the Sensor Functionality
How can you guarantee that the sensor functionality in your Keurig K-Elite is working correctly? First, verify your machine is unplugged. Then, remove the water reservoir and inspect the sensor area for debris or calcium buildup, which can hinder sensor calibration. After cleaning, reattach the reservoir and plug the machine back in. Next, perform a simple test: fill the reservoir and check if the machine recognizes it. If it still indicates "Water Reservoir Empty," apply troubleshooting techniques by resetting the machine. This often involves turning it off and on again. If issues persist, consider replacing the sensor or consulting the user manual for further guidance. Your coffee freedom depends on a properly functioning sensor!
Preventative Tips for Future Issues
While keeping your Keurig K-Elite in ideal condition can seem challenging, implementing a few preventative measures can greatly reduce the likelihood of future issues. Regular cleaning and preventative maintenance are essential for peak performance. Here are some tips to help you maintain your brewer:
- Clean the water reservoir and lid regularly to prevent buildup.
- Descale your machine every three to six months to avoid mineral deposits.
- Check the sensor area for any debris or obstructions.
- Use filtered water to minimize contaminants that could affect the sensor's functionality. Regular upkeep can prevent water and coffee overflow and ensure your machine operates smoothly.
Frequently Asked Questions
Can I Use Bottled Water in My Keurig K-Elite?
Yes, you can use bottled water in your Keurig K-Elite. Bottled water benefits include improved water quality, ensuring your coffee tastes great. Just make sure it's not mineral-heavy, as that can affect the machine's performance.
Why Does My Keurig Leak Water From the Bottom?
If your Keurig leaks water from the bottom, check for loose connections or damaged seals. Regular maintenance and proper leak prevention techniques can help guarantee your machine operates efficiently and minimizes any water leakage.
How Often Should I Descale My Keurig?
Regular Keurig maintenance is essential; descaling every three to six months helps guarantee peak performance. Notably, 70% of users overlook this, leading to diminished flavor and efficiency. Don't let neglect affect your coffee experience!
Is It Safe to Use Vinegar for Cleaning?
Yes, it's safe to use vinegar for cleaning. It offers numerous benefits, like descaling and removing odors. However, consider exploring other cleaning alternatives if you prefer milder options or wish to avoid the vinegar smell.
What Should I Do if My Keurig Won't Brew at All?
Baffled by brewing issues? First, check the power source, then inspect the water level. Next, follow troubleshooting tips like descaling and ensuring the pod's properly placed. You'll soon savor your favorite coffee again!