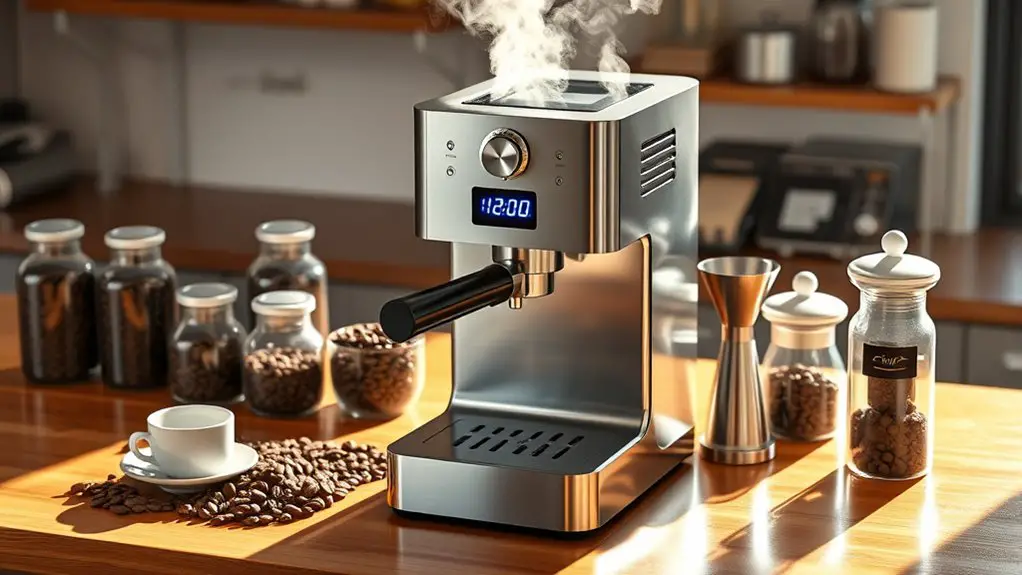
To upgrade your coffee maker with a PID controller, first choose a compatible model, like those from Inkbird or Auber Instruments. Gather your tools: screwdriver, soldering iron, and multimeter. Disconnect the power, then remove old components and install the PID controller, connecting the thermocouple for accurate temperature readings. Calibrate the system to fit your brewing preferences. With precise temperature control, you'll access better flavor extraction—learn how to optimize your brewing process for even more delicious results.
Understanding PID Controllers and Their Benefits for Coffee Brewing
A PID controller, which stands for Proportional-Integral-Derivative controller, is essential for achieving precise temperature control in coffee brewing. By applying PID principles, you can maintain the ideal brewing temperature, enhancing the extraction of flavors and aromas. The proportional component adjusts the output in relation to the temperature error, while the integral addresses accumulated past errors, and the derivative anticipates future errors. This combination guarantees rapid and stable responses to temperature fluctuations, promoting brewing consistency. When you implement a PID controller, you gain the freedom to create a more controlled environment for your coffee, allowing you to experiment with different brewing methods and achieve your desired taste profile. Embracing this technology elevates your coffee experience, guaranteeing each cup is consistently delightful.
Choosing the Right PID Controller for Your Coffee Maker
When selecting a PID controller for your coffee maker, it is crucial to evaluate compatibility with your existing setup and the specific features you need. Consider these factors to make an informed choice:
- PID Types: Decide between on-off, P, PI, or PID control based on your brewing preferences and desired temperature stability.
- Controller Brands: Research reputable brands like Inkbird, Auber Instruments, or PID-Controllers, known for their reliability and support.
- User Interface: Look for a controller with an intuitive interface that allows you to easily adjust settings and monitor temperature.
Tools and Materials Needed for the Upgrade
Before diving into the upgrade process, it's essential to gather the right tools and materials to guarantee a smooth installation. You'll need important tools like a screwdriver set, wire strippers, soldering iron, and heat shrink tubing. A multimeter is also critical for checking electrical connections and ensuring proper wiring requirements are met. Additionally, you should have a PID controller, thermocouple, and relay on hand, as these are fundamental components for your upgrade. Don't forget safety equipment such as gloves and goggles, as working with electrical components can pose risks. Having everything organized will save you time and frustration during the installation, allowing you to focus on achieving that perfect brew.
Step-by-Step Installation Process
To successfully upgrade your coffee maker, follow these seven essential steps that guide you through the installation process. First, disconnect your coffee maker from the power source to guarantee safety. Next, remove the old temperature control components, and be cautious of any installation challenges that may arise during disassembly.
- Install the PID controller: Secure it in place, following the manufacturer's instructions.
- Connect the temperature probe: Confirm accurate readings for maximum brewing.
- Calibrate the system: Adjust settings according to your preferences and consult troubleshooting tips if necessary.
Once everything is in place, power up your coffee maker and test the new setup. Enjoy your perfectly brewed coffee with enhanced precision!
Tips for Optimizing Your Coffee Brewing Experience With a PID Controller
Enhancing your coffee brewing experience with a PID controller can greatly improve the flavor and consistency of your brews. By precisely controlling water temperature, you can reveal various flavor profiles and refine your brewing techniques. Experiment with different temperature settings to discover the ideal range for your preferred coffee beans. Using a PID controller allows for better control over the brewing process, which is essential for achieving the best flavor and aroma from ground coffee.
| Brewing Technique | Temperature Range (°F) | Flavor Profile |
|---|---|---|
| French Press | 195-205 | Rich and full-bodied |
| Pour Over | 200-205 | Bright and aromatic |
| Espresso | 190-205 | Balanced and intense |
Utilizing a PID controller empowers you to make informed adjustments, leading to a personalized coffee experience that suits your taste preferences. Enjoy the freedom to explore and perfect your coffee brewing journey!
Frequently Asked Questions
Can I Use a PID Controller With Any Coffee Maker Model?
Not all coffee maker types are PID compatible. Before upgrading, check your model's specifications. Some machines allow for easy integration, while others may require significant modifications or aren't designed for PID controllers at all.
How Much Will a PID Upgrade Cost Overall?
When considering a PID upgrade, you'll want a clear cost breakdown. Budget considerations typically range from $50 to $200 for parts and labor, depending on your coffee maker's complexity and your desired precision in brewing.
Will Installing a PID Controller Void My Coffee Maker's Warranty?
Installing a PID controller often voids your coffee maker's warranty due to DIY modifications. Always check the manufacturer's warranty policy beforehand, as unauthorized changes can lead to warranty implications you might not want to deal with later.
Can I Revert My Coffee Maker Back to Its Original Settings?
Imagine your coffee maker as a well-traveled journey. You can restore its settings, returning to the original configuration. Just follow the manual's guidance, and you'll reclaim the path to your beloved brewing basics.
What Temperature Range Is Ideal for Brewing Coffee With a PID Controller?
For ideal brewing, maintain your PID controller between 195°F to 205°F. This range guarantees maximum extraction, while temperature stability enhances flavor consistency. Experiment within this bracket for the best coffee experience tailored to your taste preferences.
